Circle of Flowers Digitizing Series – Part 4 – Flower with Center
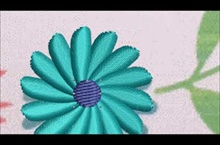
https://youtu.be/PSCkQuqLPhIOnce again we will use the Circle Layout Tool to quickly make multiple petals of our flower. You will see how to offset the layout tool center to give the…


https://youtu.be/PSCkQuqLPhIOnce again we will use the Circle Layout Tool to quickly make multiple petals of our flower. You will see how to offset the layout tool center to give the…

https://youtu.be/02vZX6WwCnEIn this video we will show you how to use the branching tool to prevent excessive jumps. We will also use the Block Digitizing Tool to digitize leaves, apply pattern…

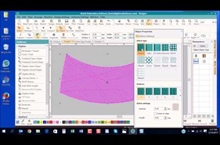
https://youtu.be/otKcPnGczuMWe will show you how to use the Closed Digitizing Tool and a Satin stitch with split satin turned on to digitize large areas like our tulips to give it…

https://youtu.be/Q3X7QVwfuGcWhen completely finished you will want to check your design using the Stitch Player. Print out your worksheet with your colors and sewing order before stitching.
https://youtu.be/yCnOYBz5INwThe design in this video has a lot of fill stitches and also stitches on top of stitches, so we need to compensate for the fabric pulling. We will show…
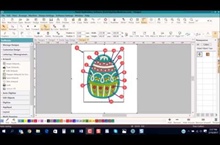
https://youtu.be/CBSJVOMI3WcIn this video we show you how to plan out the digitizing order of the embroidery design and group the colors together as much as possible to avoid too many…
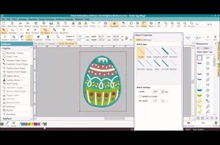
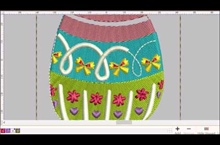
https://youtu.be/fcTuviaHhGAFlorentine stitch will give your stitches a curved look, which will create the 3D effect of the egg.
https://youtu.be/VjINMY3XPvYThe Stitch Player in Hatch Embroidery simulates how the design will be stitched out on your machine. Watch this video and see the order of the various elements of the…